 TwinkleTwinkie
 Benchoff
-
Controlling Light with "Layers"
07/28/2020 at 12:39 • 0 commentsI have a friend, his name is Hyr0n, and he's been afflicted with the notion that "GIF" is pronounced" JIF, as in Peanut Butter. We all love Hyr0n so we forgive him for this deliberate misunderstanding but that doesn't keep him and I from ragging on each other at every opportunity so in that spirit I created the "Peanut Butter" SAO in 2019.
![]()
The idea behind this shit post of a shitty add-on was to simply present "Gif" in the same format as the beloved "Jif" peanut butter. However this quick last minute SAO turned into an exercise in controlling light bleed and there were some lessons learned that I'd like to share with everyone.
In early 2020 Giphy and Jif actually teamed up and released a special "Gif" peanut butter jar. It was $10 at release but is now, as of July 2020 about $34. 2 Layers is not Enough
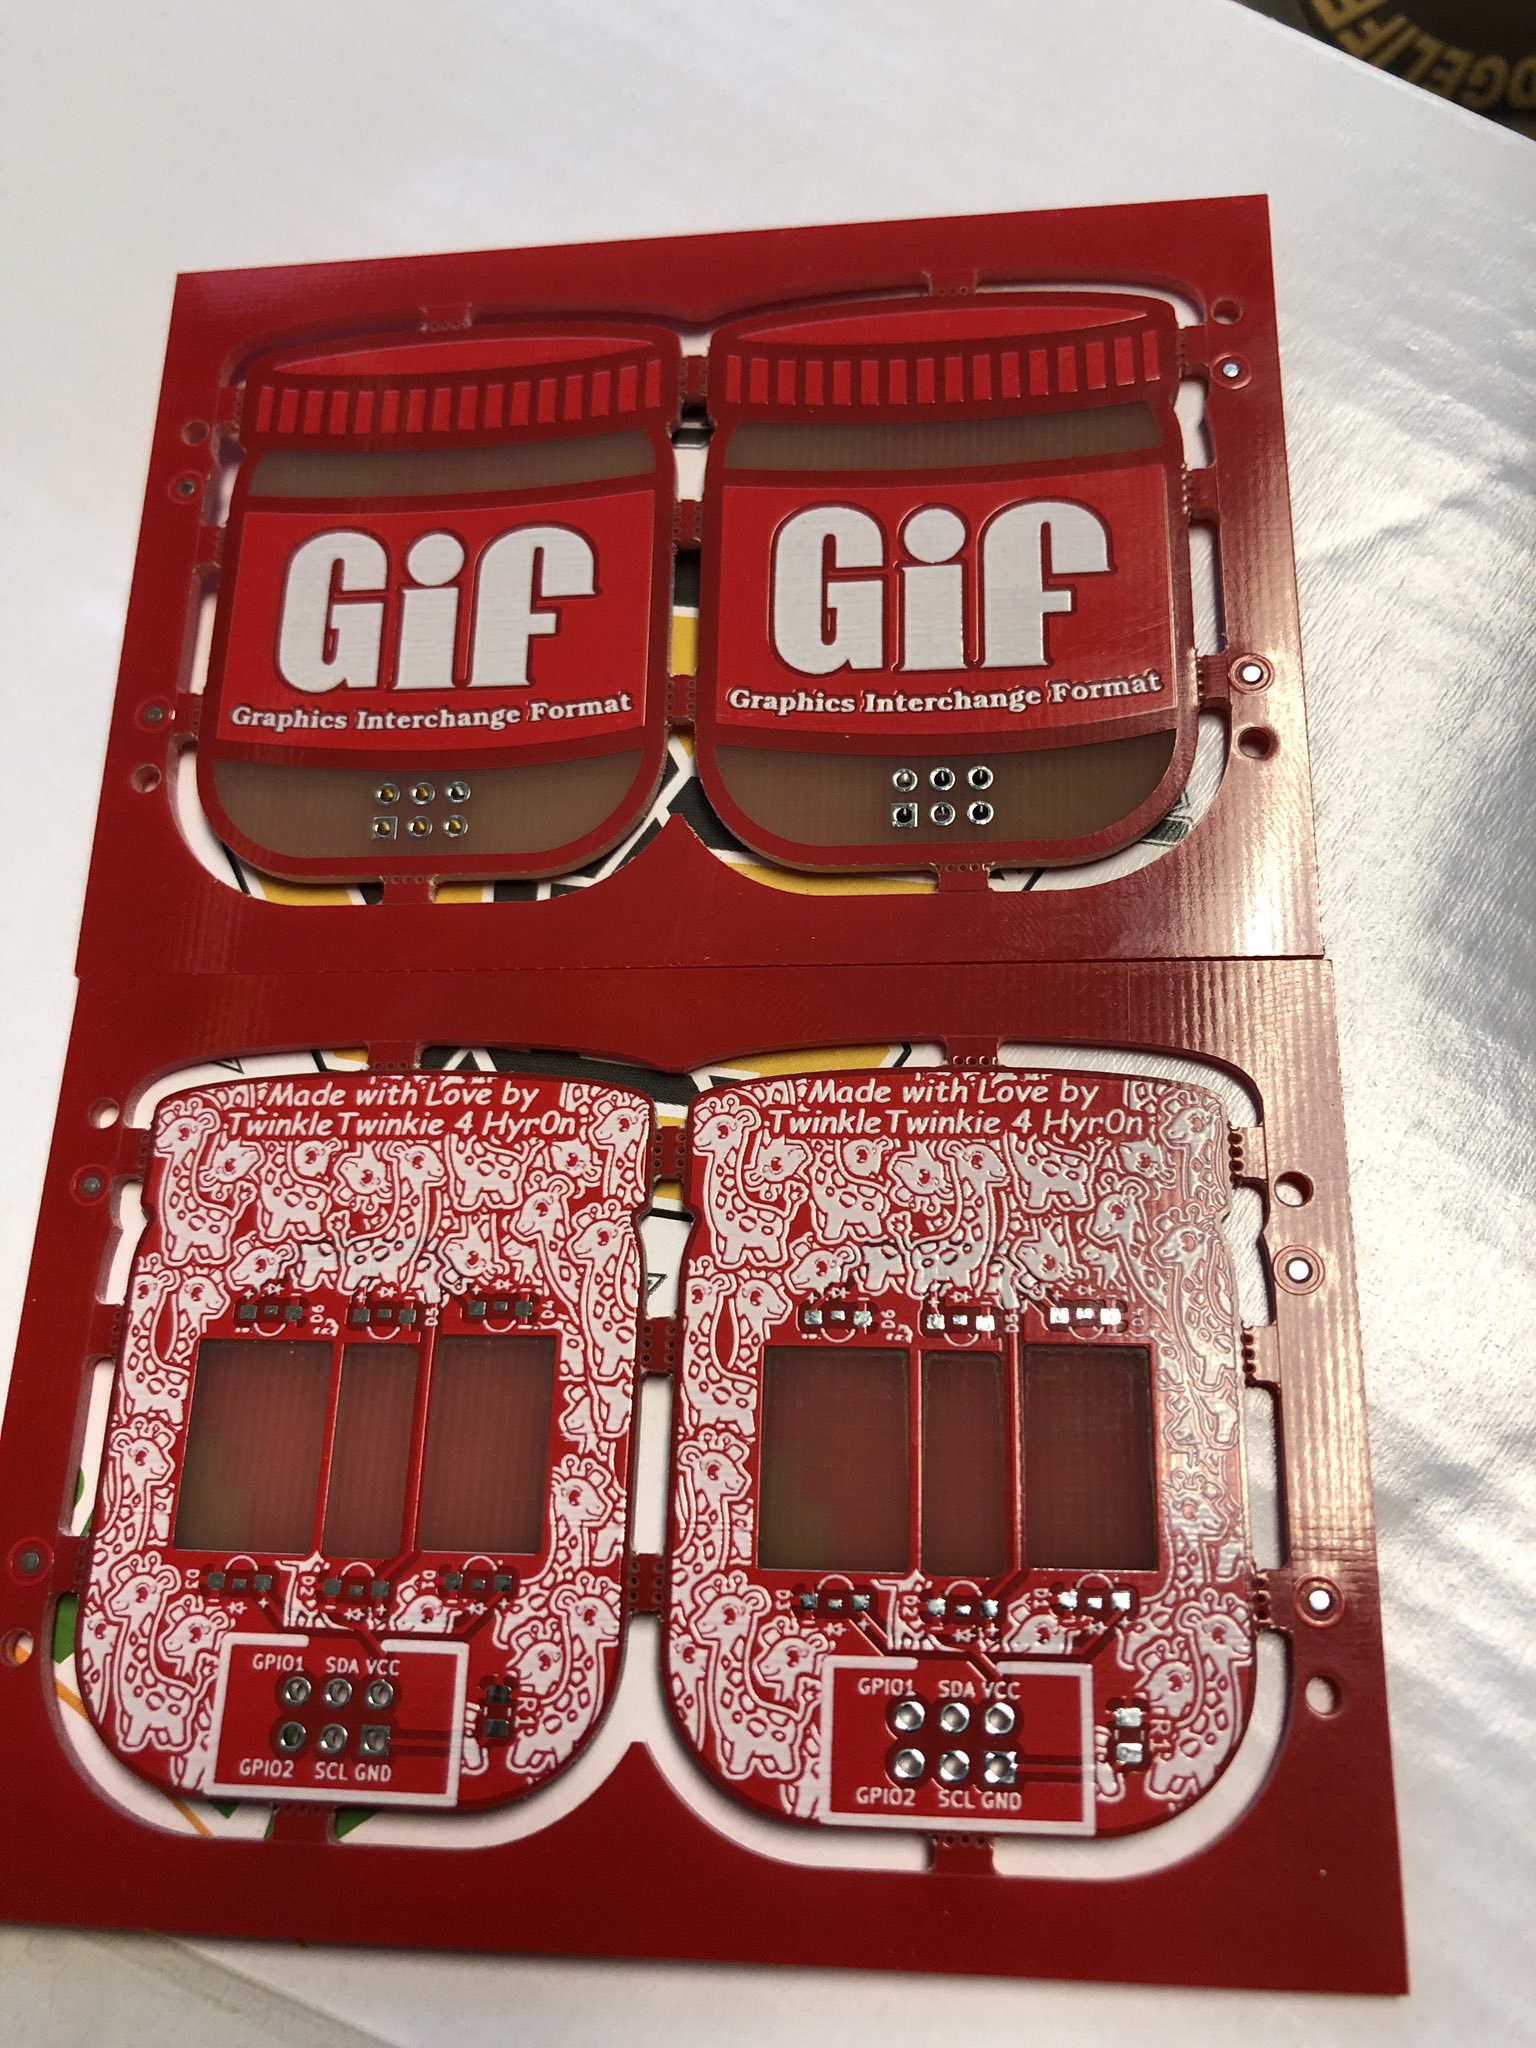
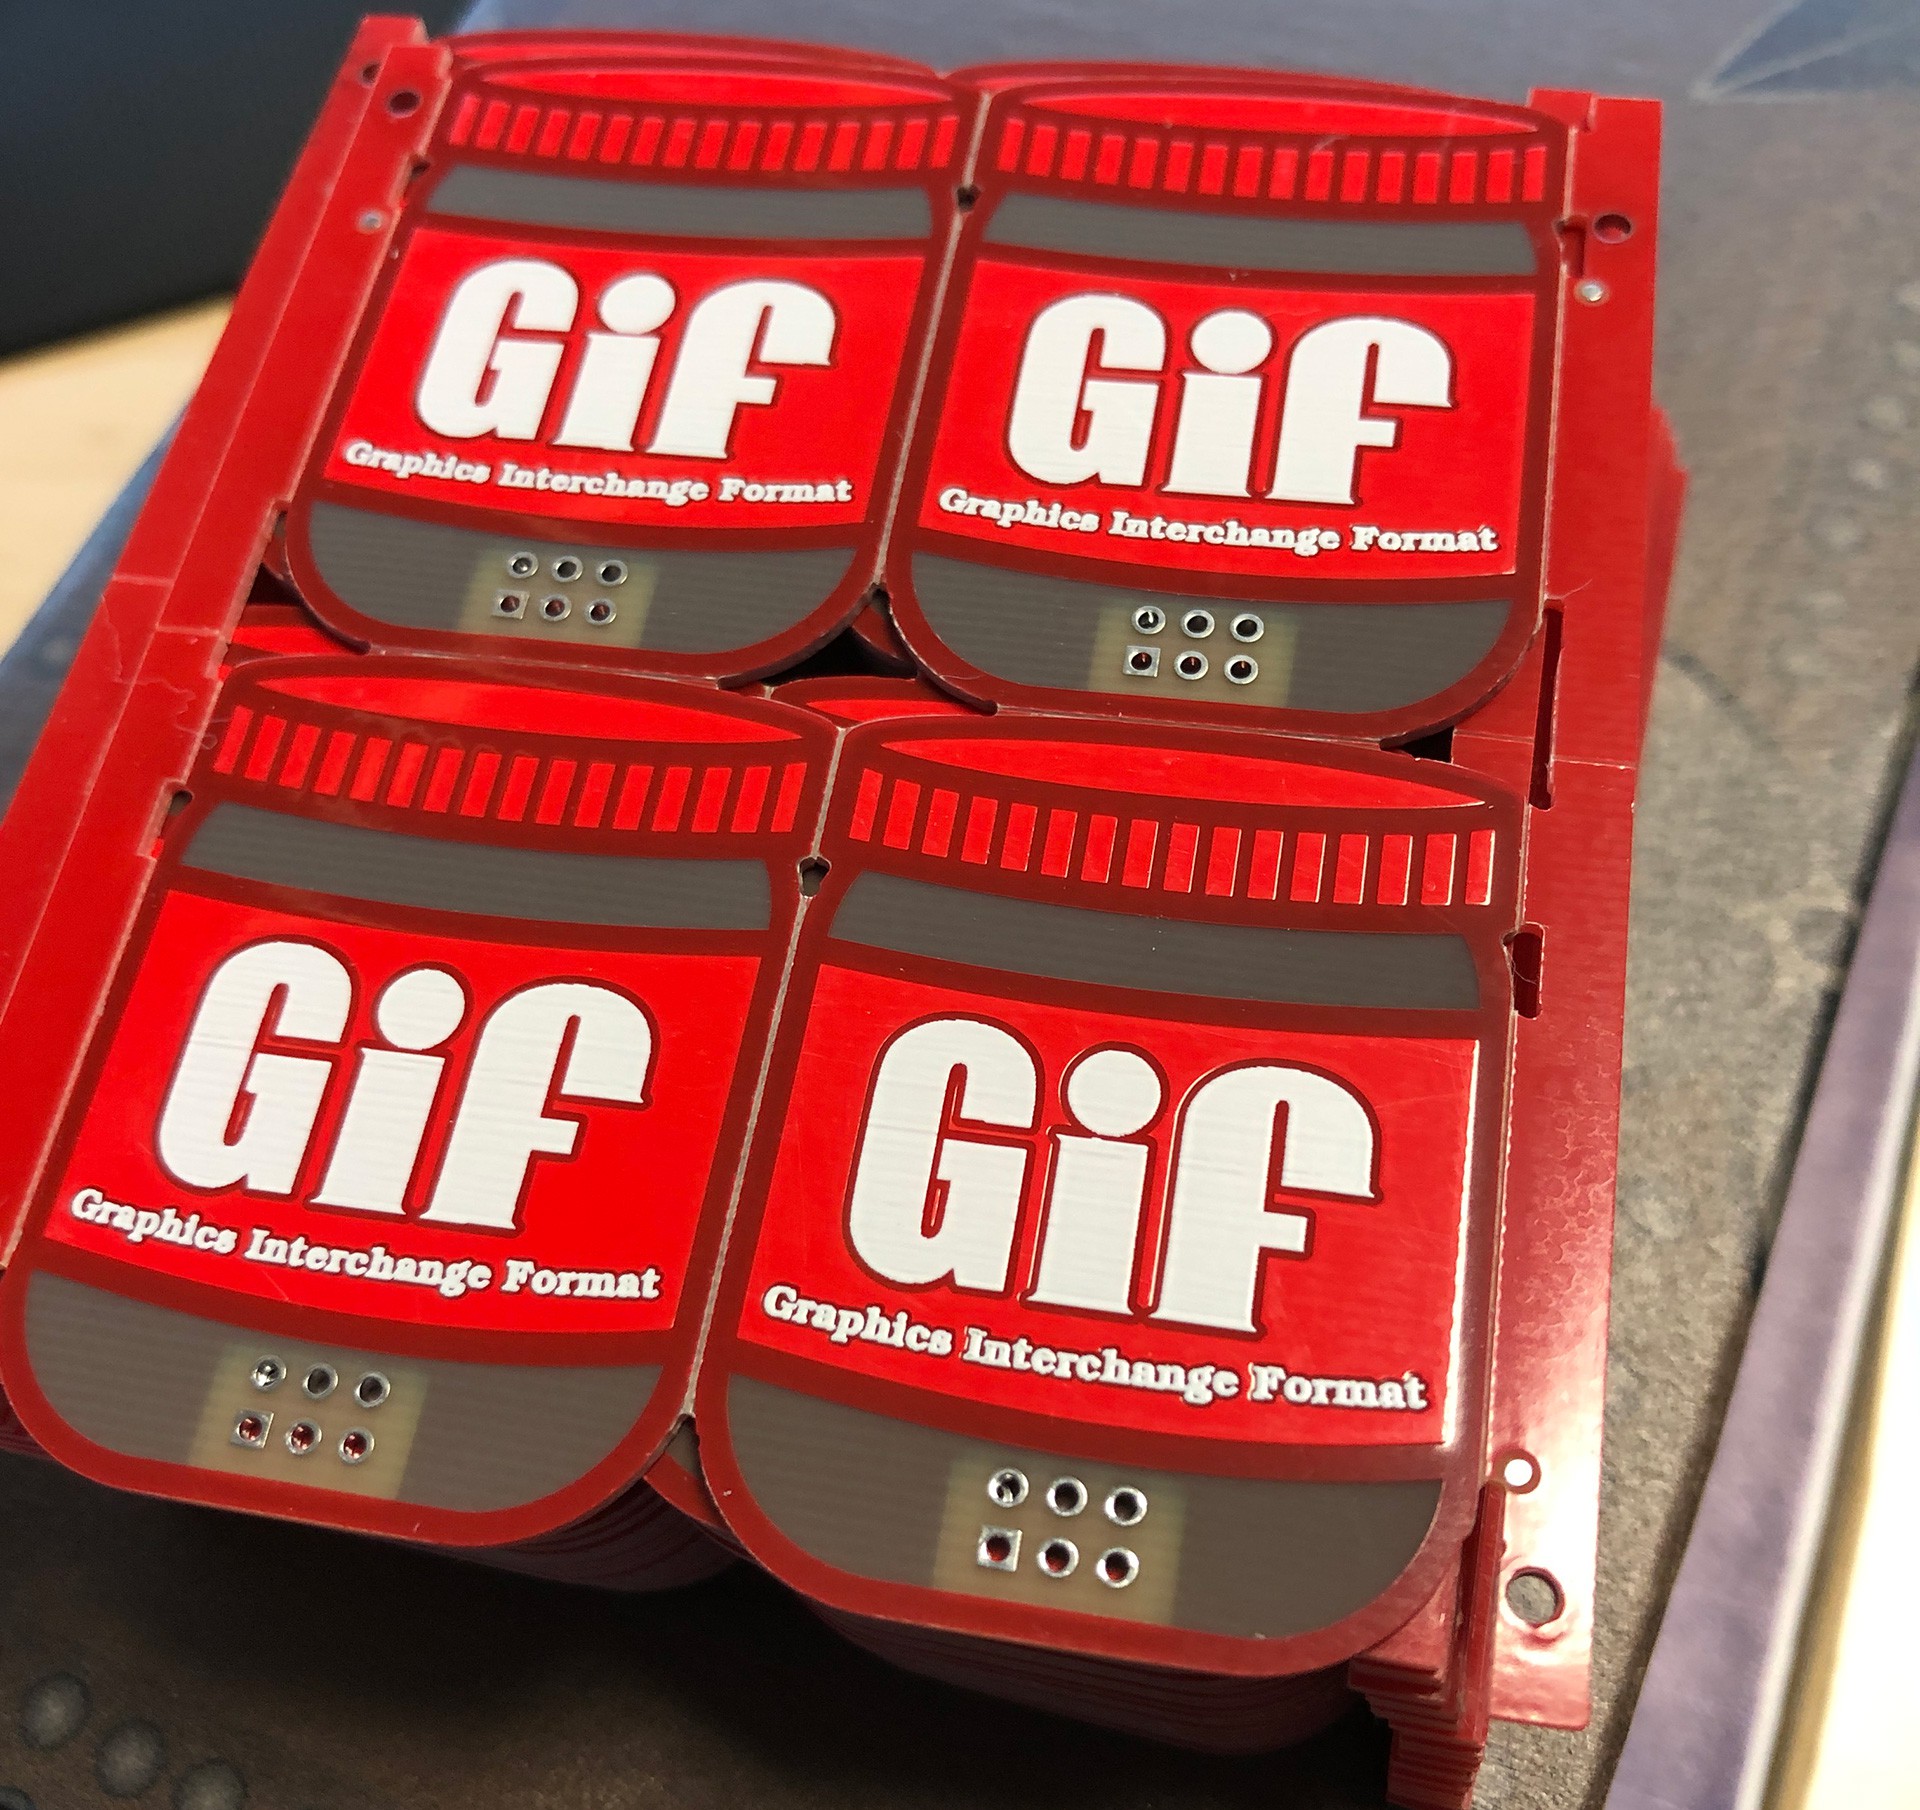
The original design for "Peanut Butter" was incredibly simple. Featuring a mock up of "Gif" in the same spirit of a jar of "Jif" I spent most of my time making a G out of a J and then filling the back with a bunch of Giraffes so as to split the difference on the two arguments, and thus making both sides think they were right. I quickly threw together a schematic that featured 6 white LEDs that would back light "Gif" and sent it off to fab with the extra bit being I had it panelized to see what that would look like and here is the result:
![]()
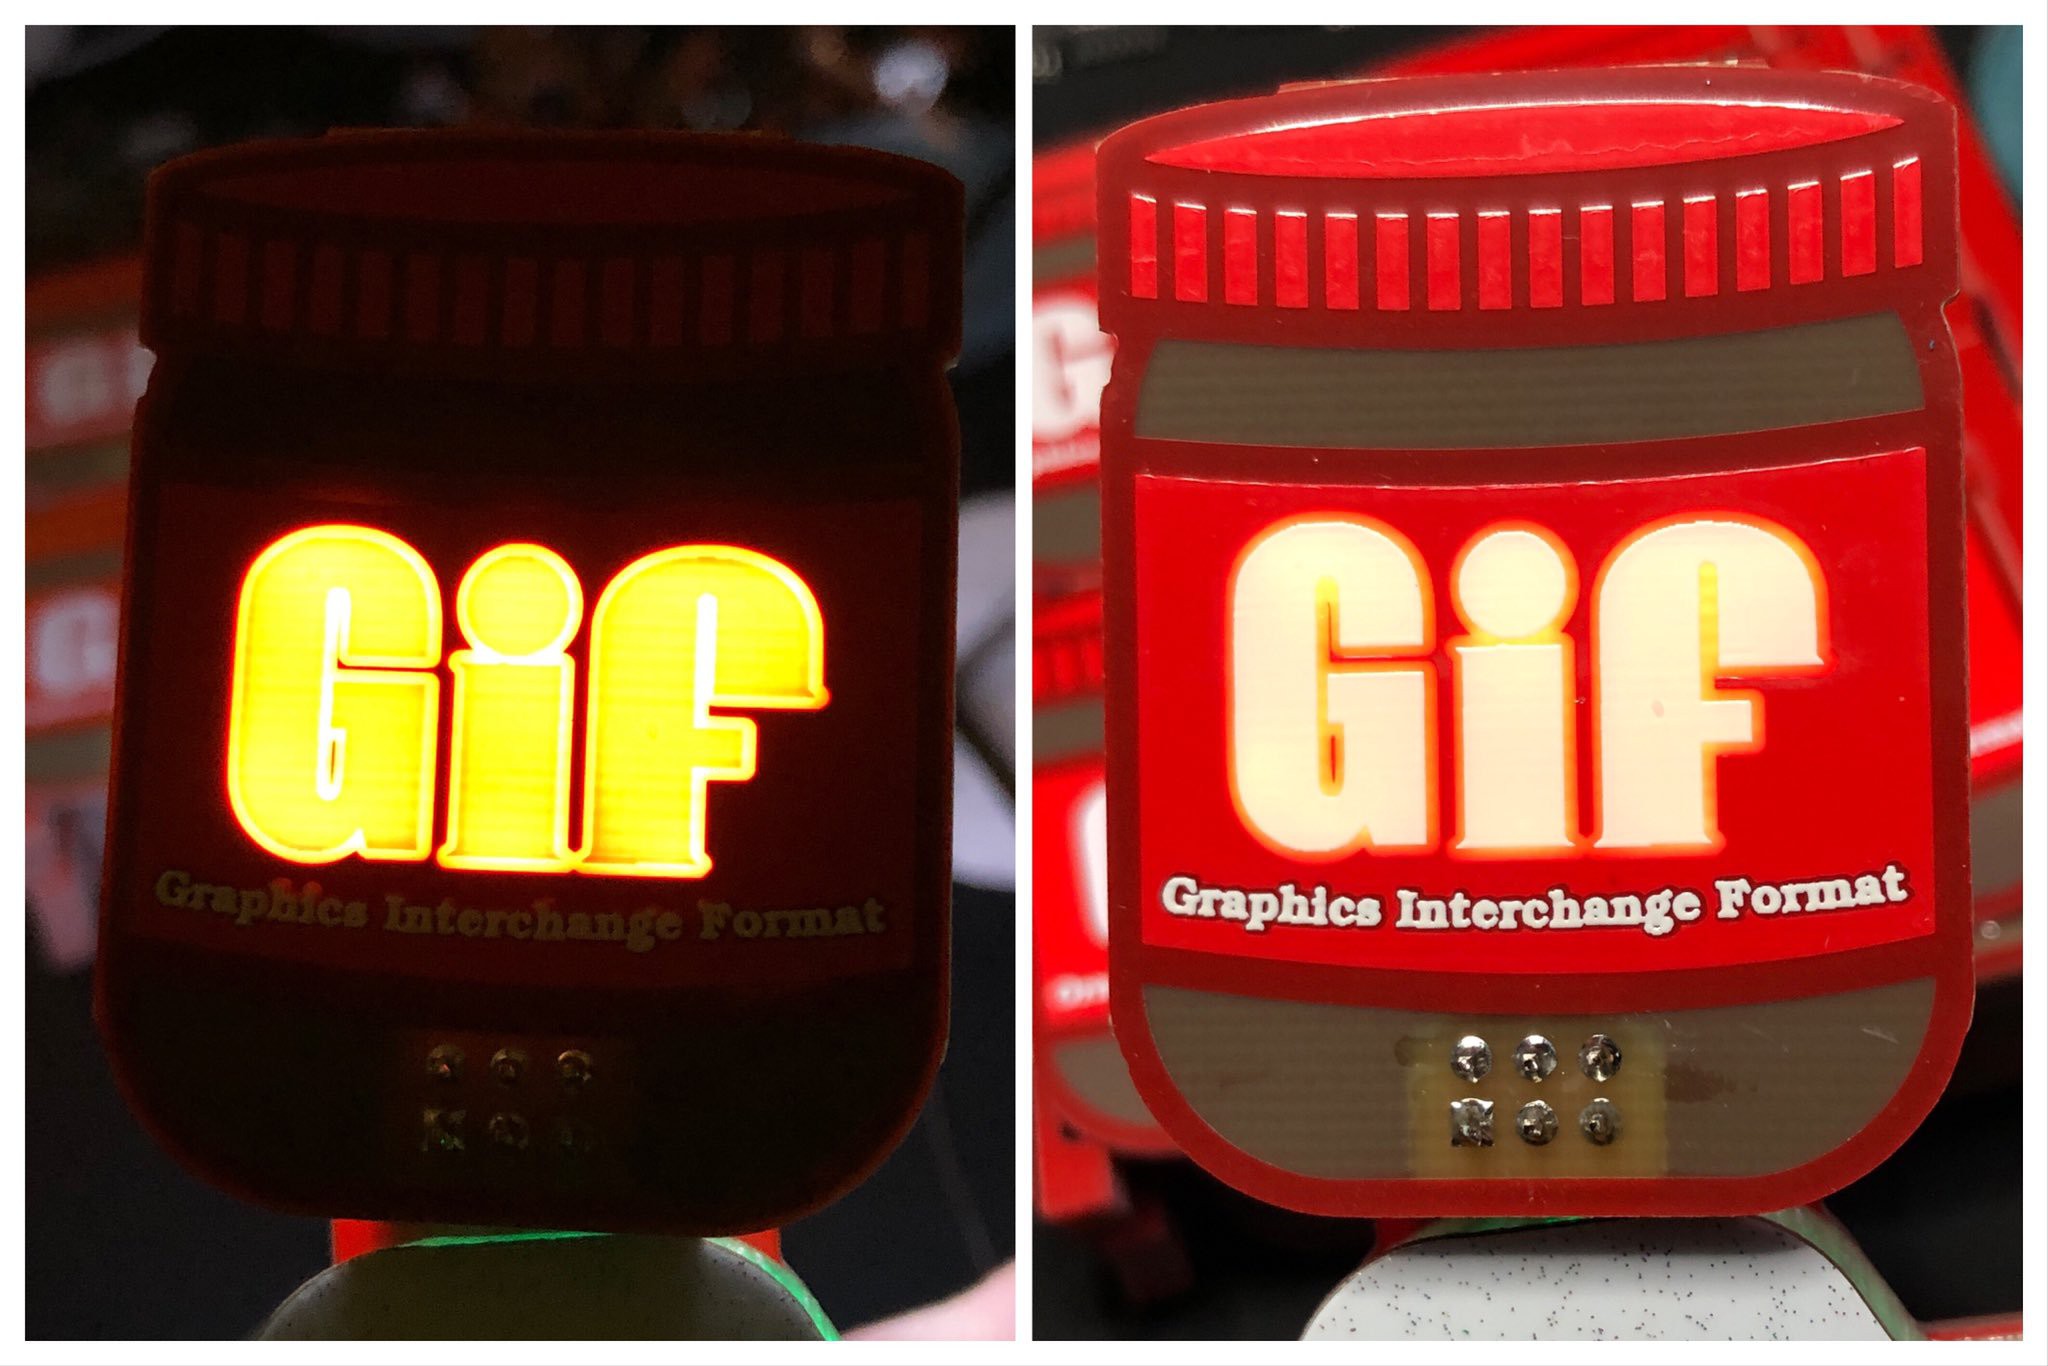
The results were great! Except that is until I put on the LEDs and gave them power.
![]()
The light bleed on this was really bad, I only wanted to light up the words and despite using side mounted LEDs that were only pointing inwards on the letters the light was so bright that it covered way more than intended. So I chewed on this for a couple of days and then it occurred to me that maybe I could add more layers between the top and bottom and control where the light was visible without affecting the top copper art.
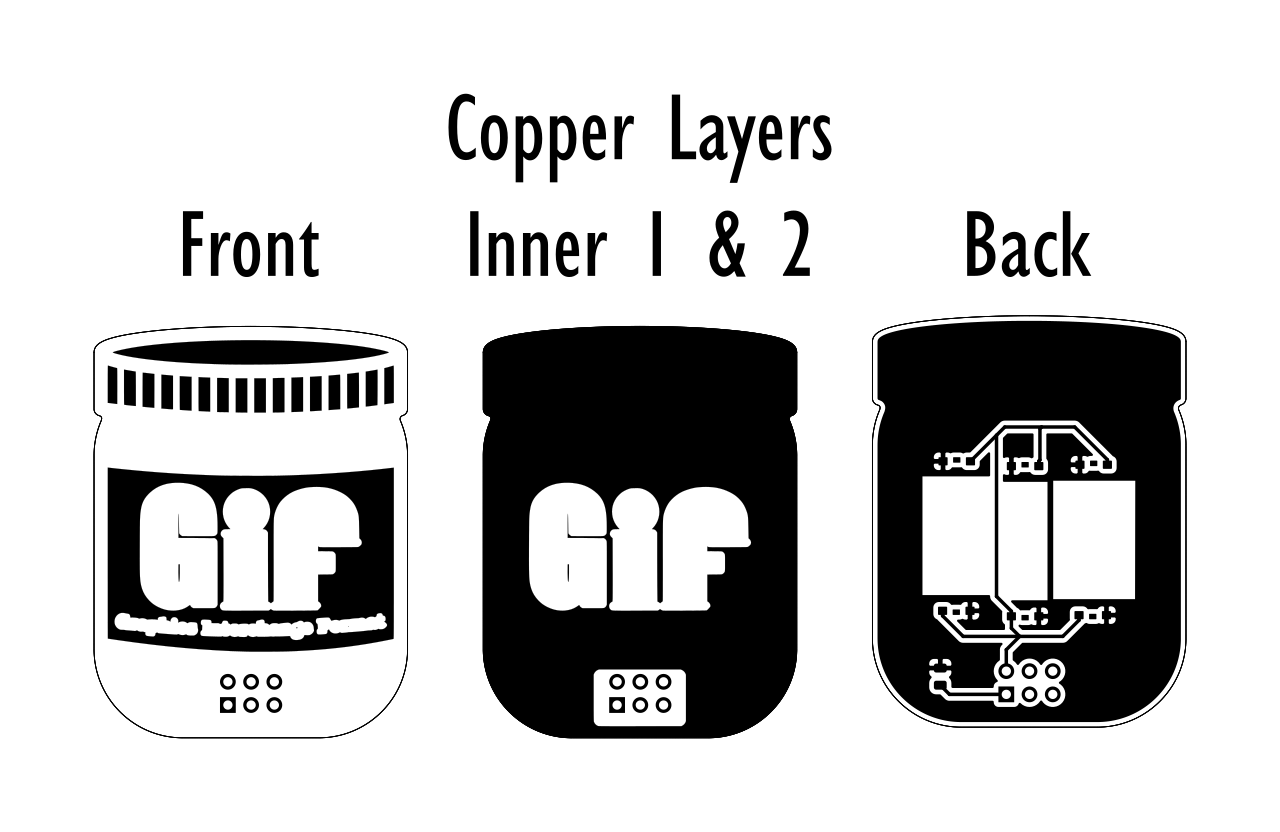
The second revision of Peanut butter had 4 layers with "Gif" being the only open areas in the copper on the two inner layers. I probably could have done this with only one layer of copper but I wanted to be sure it'd block as much light as possible and you can't order a 3 layer board anyway.
![]()
This change worked perfectly and due to a misunderstanding on my part when ordering these instead of ordering 25 boards I ordered 25 panels so I had a lot more to give away.![]()
![]()
Controlling light bleed? You need more "Layers"!![]() If you're designing a board where light will be intentionally shone through the back and if you're looking to control exactly where that light is shown without affecting the top copper layer then you'll need to use inner copper layers to get the results you're looking for.
If you're designing a board where light will be intentionally shone through the back and if you're looking to control exactly where that light is shown without affecting the top copper layer then you'll need to use inner copper layers to get the results you're looking for.
In general this realization made other projects easier as well. When you only consider using two copper layers then suddenly the back copper layer becomes a consideration for the art you're trying to display on the front. If you don't want visible trace lines or are trying to control the way light is presented then you can utilize multiple layers to achieve your end goal. You might be wondering how much more this might cost you and that varies from fab to fab but from JLCPCB the cost of moving to 4 layers from 2 isn't that much more and if you panelize your designs you can get a lot more individual boards for your money. -
Santa Bot PCB Made by PCBWay
12/17/2019 at 17:22 • 0 commentsFor the last 4 years I have created a Christmas Ornament to help raise money for Charity. The first ornament was created for a Secret Santa event for a Computer Hardware forum called "[H]ardForum". It is the forum attached to the now defunct hardocp.com. The "General Mayhem" portion of that forum was composed of a tight knit group of people who gave each other endless hell but at the end of the day looked out for each other and really did try to help out others when they needed it.
The Secret Santa event was started in 2005 and was run by a handful of people before I took over the in 2016. When I took over I discovered that a number of people who had participated in the event in prior year weren't returning because of recent hardships. Some were dealing with overwhelming medical bills, some were recovering from losing their jobs or were currently in between jobs because of a large lay off. That's when I decided to make and sell 3D Printed ornaments. The ornaments raised money so we could buy gifts for those who had fallen on "[H]ard Times" and any left over money would be donated to "Child's Play Charity", which was a favorite charity among the community.
![]()
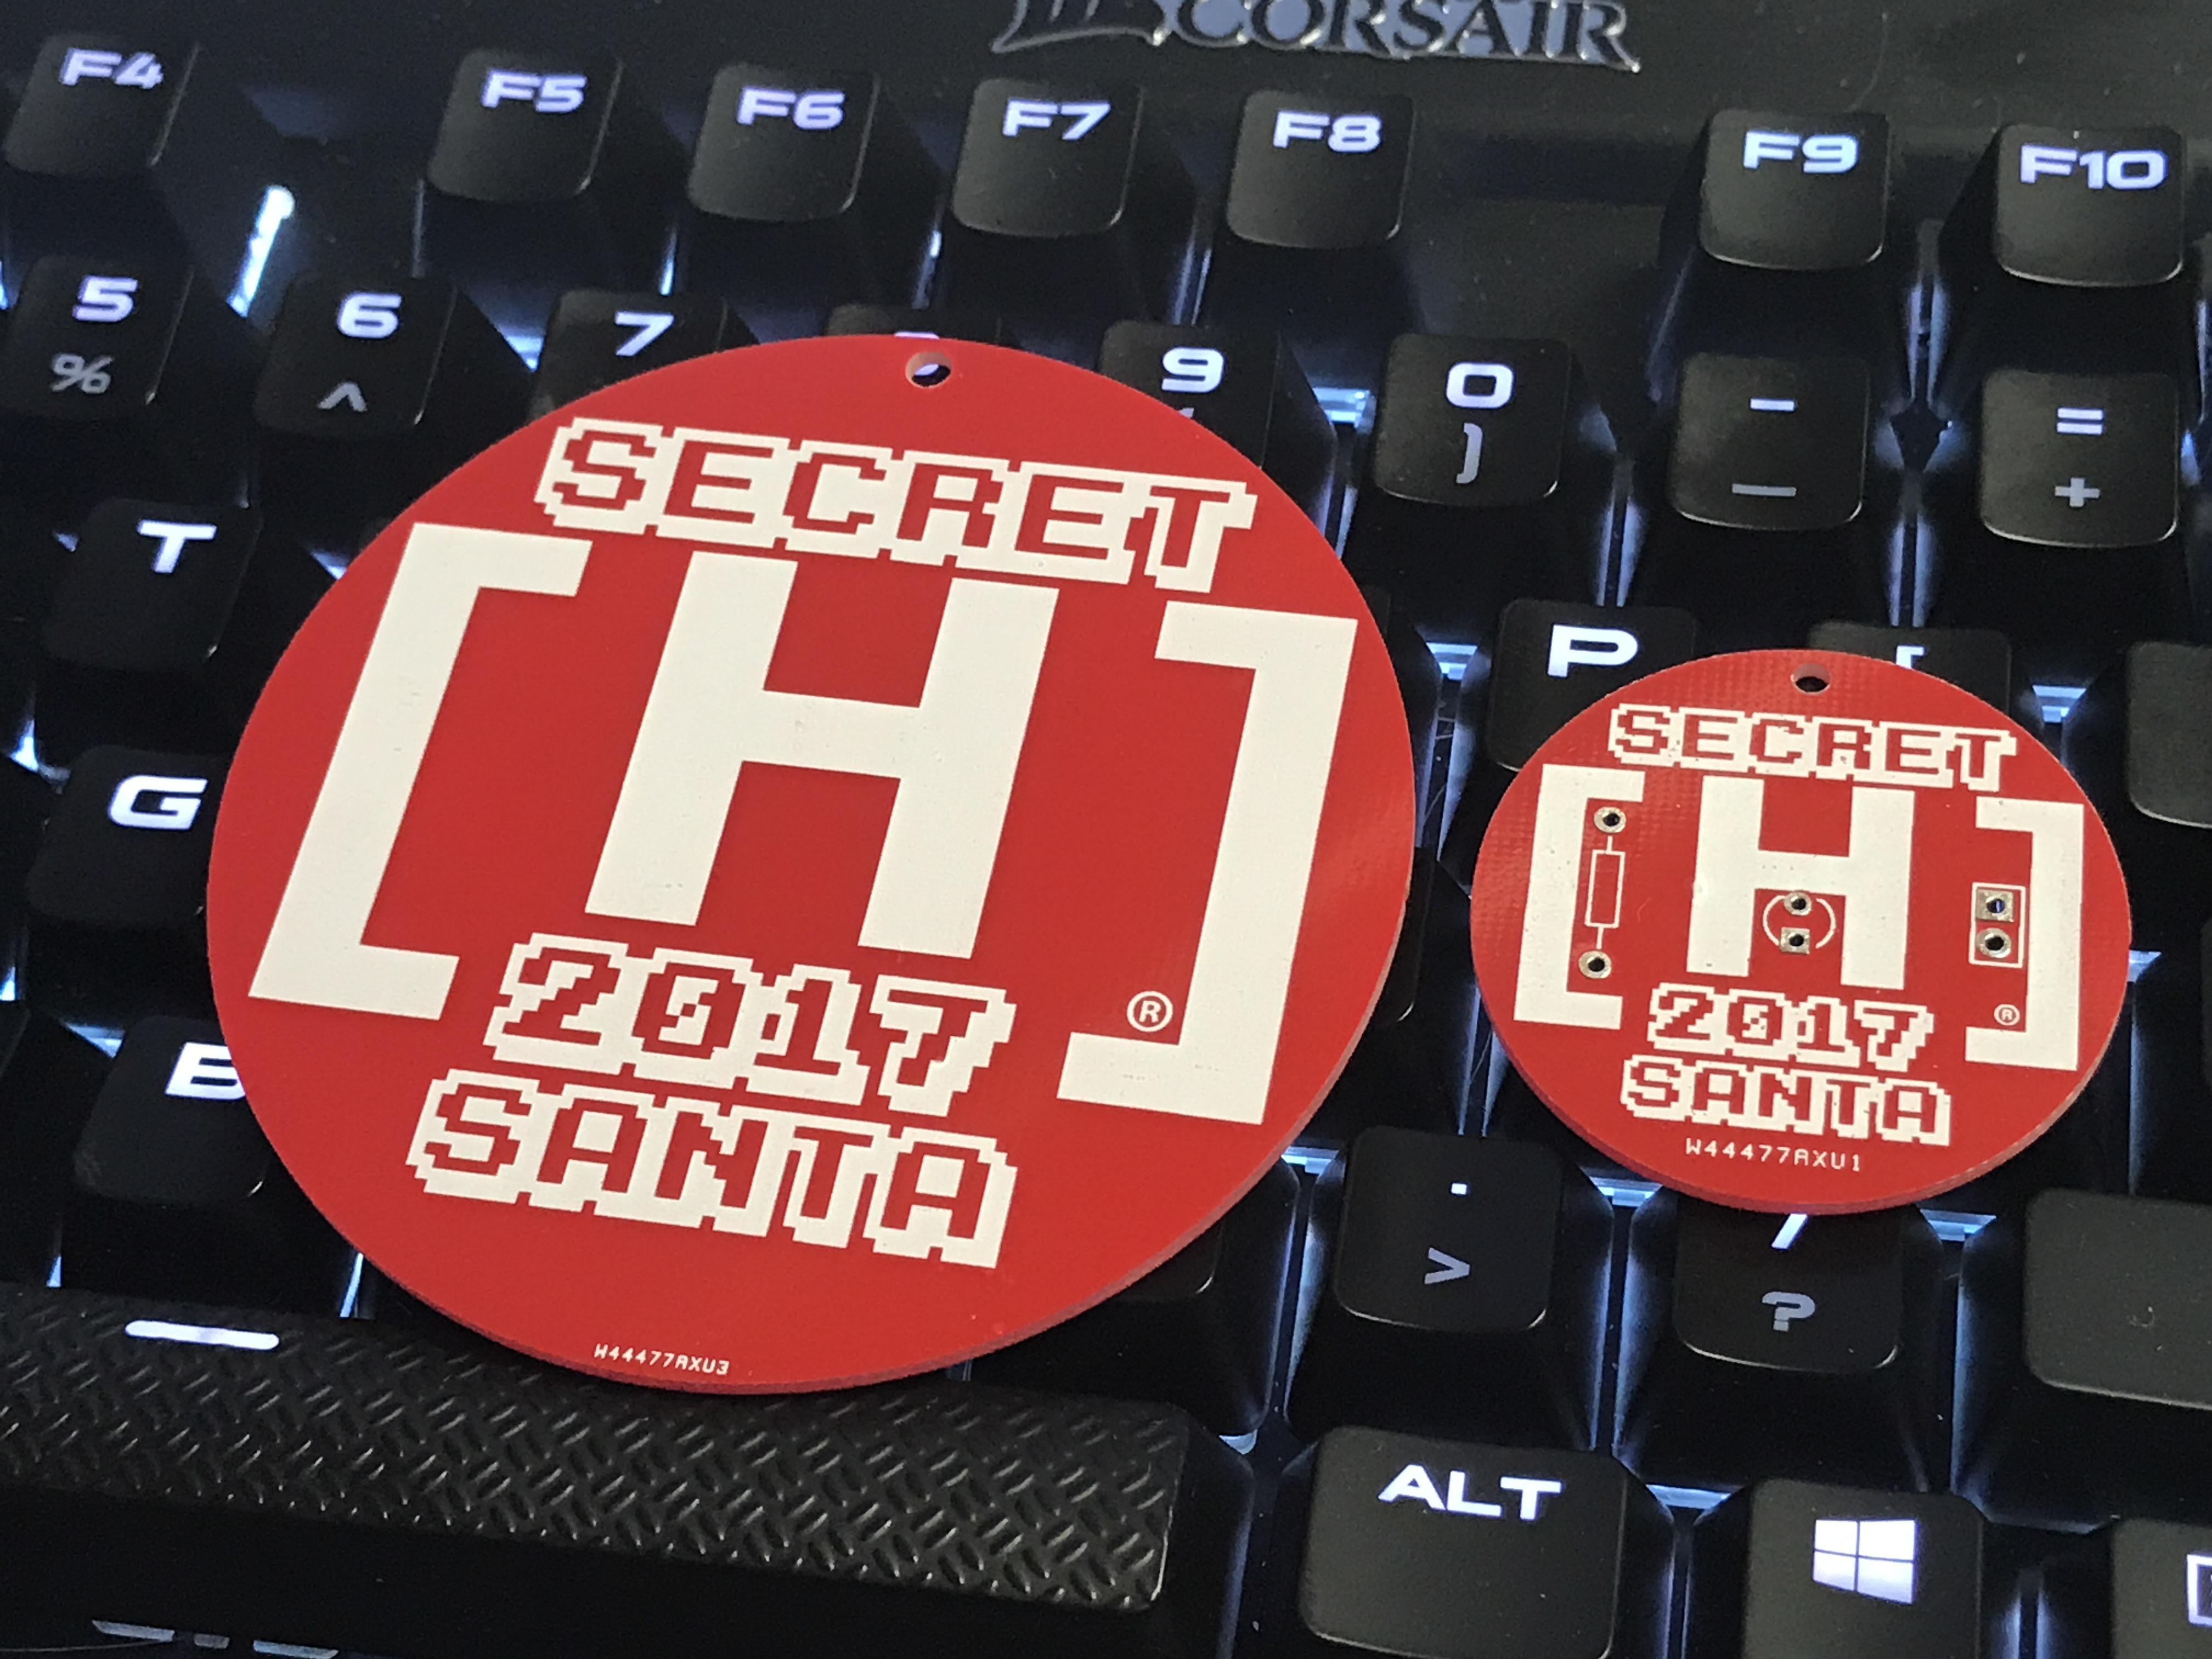
2016's Ornament was 3D Printed I continued the Ornament in 2017 but that year rather than 3D Printing the ornaments I decided to put my newly acquired Fritzing "Skills" to use and had PCBWay produce a Token and a Ornament. Just as with the 2016 ornament the 2017 Ornament & Token were used to raise money to buy gifts for those experiencing [H]ard Times and again the remaining money was donated to the Child Play Charity. While we reached our goals for the ornament in 2016 in 2017 they fell short. We were still able to raise the minimum amount we needed to cover costs and to buy gifts but we didn't sell as many as we had hoped and thus weren't able to donate as much to Child's Play Charity as much as we would have liked. We felt the biggest issue was that the ornament was catered to a really small group of people and that if it were more generic and offered to the general public we may be able to do more with it.
![]()
2017's Ornament was my first and second PCB Designs which were created in Fritzing In 2018 I spun my Holiday Ornament off from [H]ardForum and rather than it being used for both [H]ard Timers & Child's Play Charity the money was raised solely for Child's Play Charity and the ornament became available to more than the [H]ardForum community. At that point I was neck deep in #badgelife and had a great deal more experience making artistic PCBs. My 2018 Ornament was a big success and sold out in 3 days and raised $1,000 for Child's Play Charity (https://twitter.com/mrtwinkletwink/status/1069051869710991360.
![]()
2018's Ornament, this was my first 4 layer board designed in KiCad This brings us to the current year, 2019, and this year's Ornament is "Santa Bot"! Santa Bot is the evolution of my collaboration with @Nick on "Wireshark" and instead of playing one song it plays 11 and features glowing eyes and a blinking mouth when "singing". Santa Bot was inspired by vintage robot toys from the 1960s whose characteristics are brought to life with a Red Solder Mask, White Silk Screen, and a HASL (Silver) Copper Finish on a board produced by PCBWay.
![]()
2019's Ornament: Santa Bot - PCB Made by PCBWay PCBWay sponsored this year's board so that more of the money raised can go towards the Child's Play Charity. PCBWay has manufactured the majority of the boards I've used on my projects including Arc Badge, Krusty the It, Mad Cat, and Chestoro!
Placing an order on their website is easy and straight forward. You enter parameters about your board, choose your Silk Screen, Solder Mask, Copper Finish, and if you need it they can produce a stencil for you to use with Solder Paste as well.
Their ordering process is setup so that they review...
Read more » -
2019, A Year in Tools
12/12/2019 at 14:49 • 0 commentsToday I was talking with a friend about some difficulties we had with assembly with a particular part and I shared with him the tool I purchased to deal with the problem. While going down my purchase history looking for the tool to share with my friend I realized that I actually bought quite a few tools in 2019 and I thought it'd be fun to share with you the tools I purchased and used this year. These tools will be in order of when I purchased them. The order of purchases tells its own story.
While I will provide a link to all of the tools I purchased, none of the links are affiliate links so don't feel obligated to use them if you decide to make your own purchase.
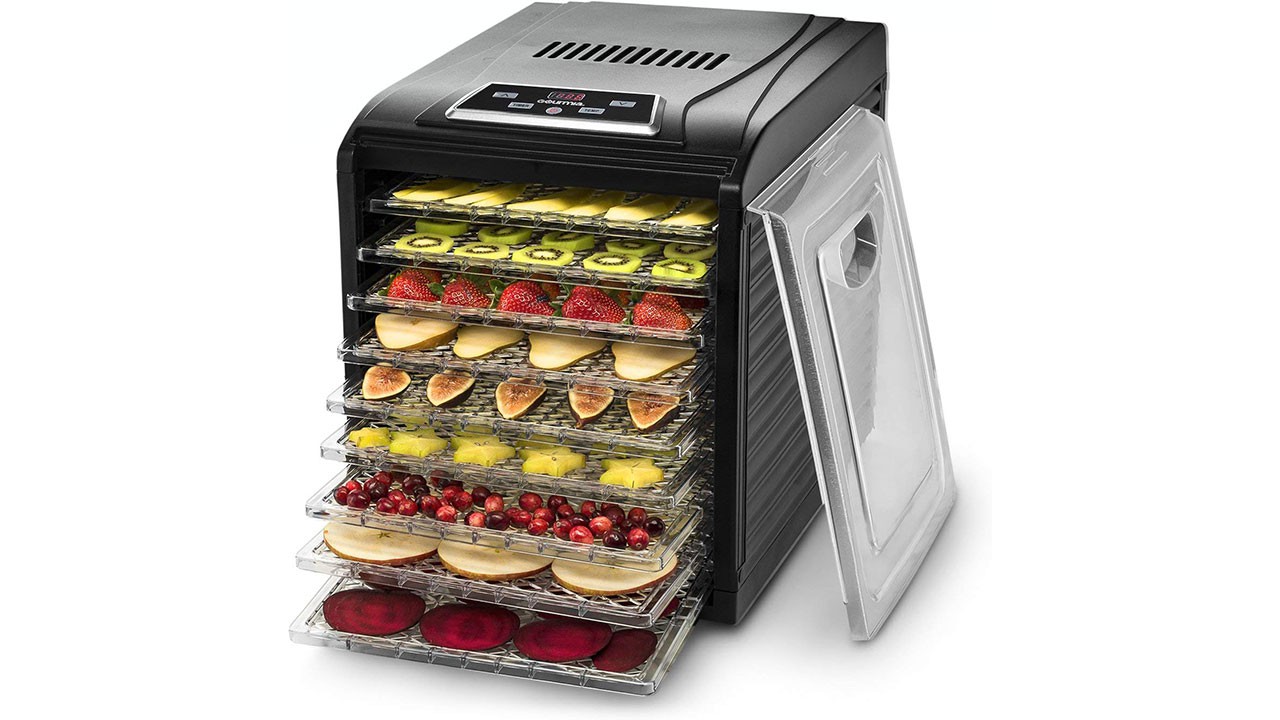
Gourmia GFD1950 Digital Food Dehydrator
Amazon: https://www.amazon.com/gp/product/B01M6AZ863/
![]()
I purchased this food dehydrator to dehydrate the least food related thing I consume on a regular basis: 3D Printing Filament. I had been having printing issues with a couple of rolls of filament and I had calibrated and recalibrated my printer numerous times. I live in a humid state (my house generally sits at about 50% humidity) so despite my efforts to keep my filament dry I figured I'd try out drying it with a Dehydrator. I haven't gotten too far into the weeds as far as dialing in specific settings or timing I just leave it at the default 165F for 10 hours and I toss it in the dehydrator, run the cycle and use the spool the next day. Even though filament is pretty cheap it can take me a while to actually use an entire spool so this Dehydrator has already more than paid for itself and I've worked it into my regular work flow with my 3D Printer, especially for spools that have been sitting in storage for a long time.
Depending on the size of the spool I can generally fit 3-4 1KG rolls of filament in this dehydrator. I normally use it on my PLA rolls but I have also used it on PETG rolls and have noticed a significant improvement in print quality.
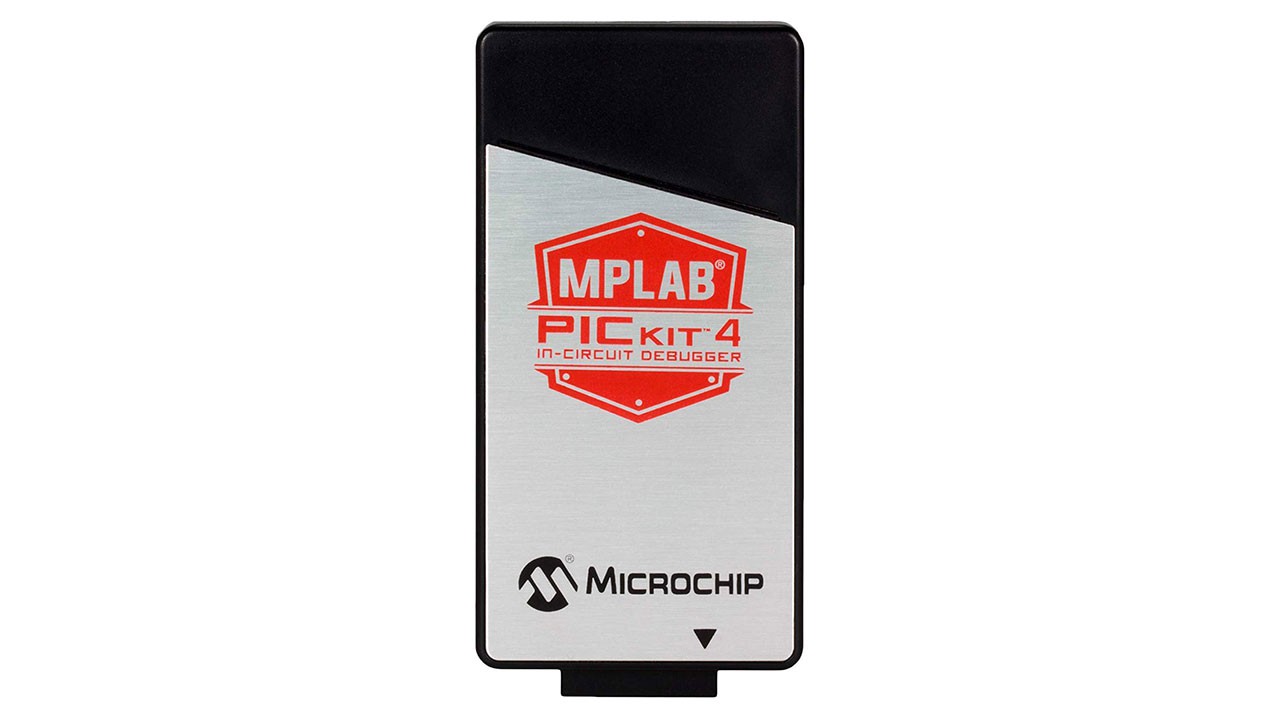
MPLAB PICkit 4 in-Circuit Debugger
Amazon Link: https://www.amazon.com/gp/product/B07DMSDGQX/
![]()
If you've done anything with a PIC then you might already be familiar with this tool. It's used to program PIC MCUs. Hypothetically it can be used to program more than the PIC Line of MCUs that Microchip makes but my own experience with attempting to program a ATTiny13a with it went poorly but I'm not the best person to judge this sort of thing. I used it to program the Arc Badge and it worked reliably the entire time. As long as you use it to program chips it has 100% compatibility with then you'll have a good time. Hypothetically you could put a MicroSD Card in this and use it to program chips without a computer but I wasn't able to test that out myself and while the hardware was there for it I don't think it was supported when I was doing it. Still, I think it was worth the purchase and again for the PIC MCUs I used it worked flawlessly.
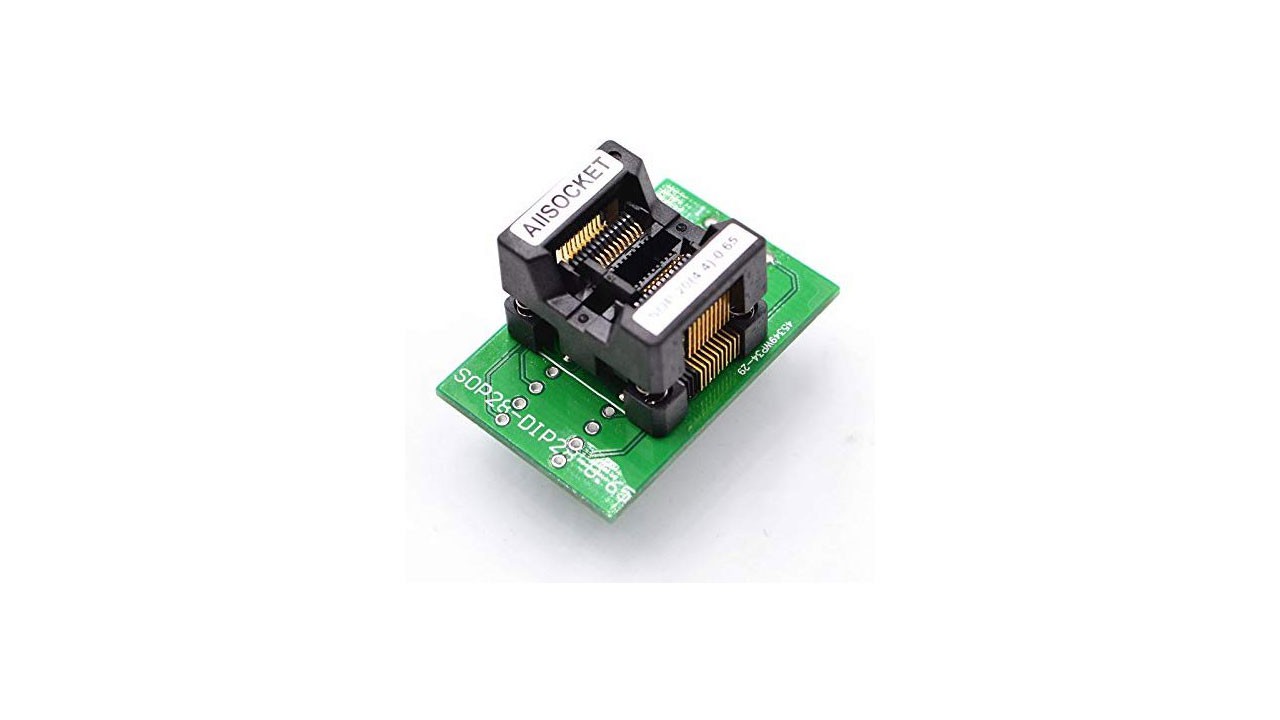
ALLSOCKET TSSOP20 Programming Adapter
Amazon Link: https://www.amazon.com/gp/product/B06XDNTGPD/
![]()
I only used this adapter a couple of times but it was useful when doing breadboard experiments with the PIC16 we used on the Arc Badge. I think if you like to bread board your designs first this is a good device to have if you don't have any break out boards or bread board friendly packages of your chip. As for this particular device I didn't have any trouble using it but again I only used it a couple of times and I haven't used it since.
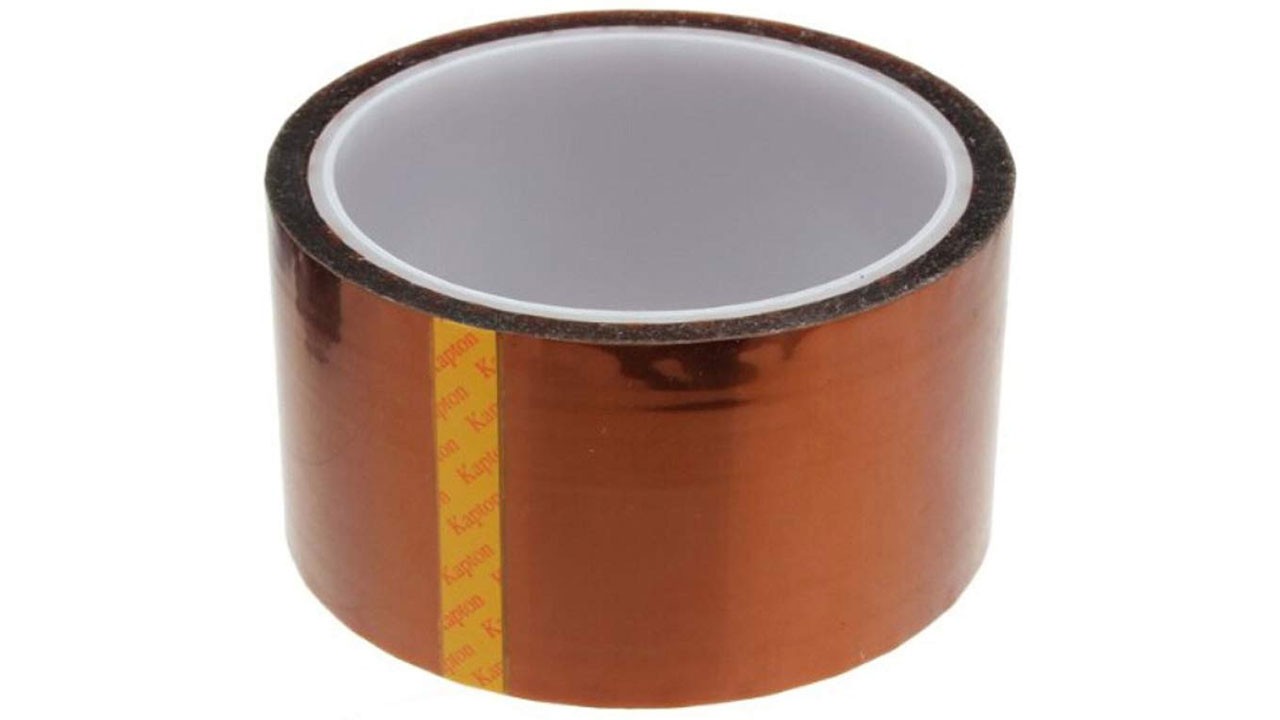
Kapton Tape (50mm*33m)
Amazon Link: https://www.amazon.com/gp/product/B00N1QZY4M/
![]()
I purchased this large roll of Kapton tape to do some modifications to a T961 Reflow Oven. It has worked very well and I've found myself using it a couple of other places around the house. Its tolerance of high temperatures and being that it's non-conductive it can have a number of electronic hobby uses. ...
Read more »


 If you're designing a board where light will be intentionally shone through the back and if you're looking to control exactly where that light is shown without affecting the top copper layer then you'll need to use inner copper layers to get the results you're looking for.
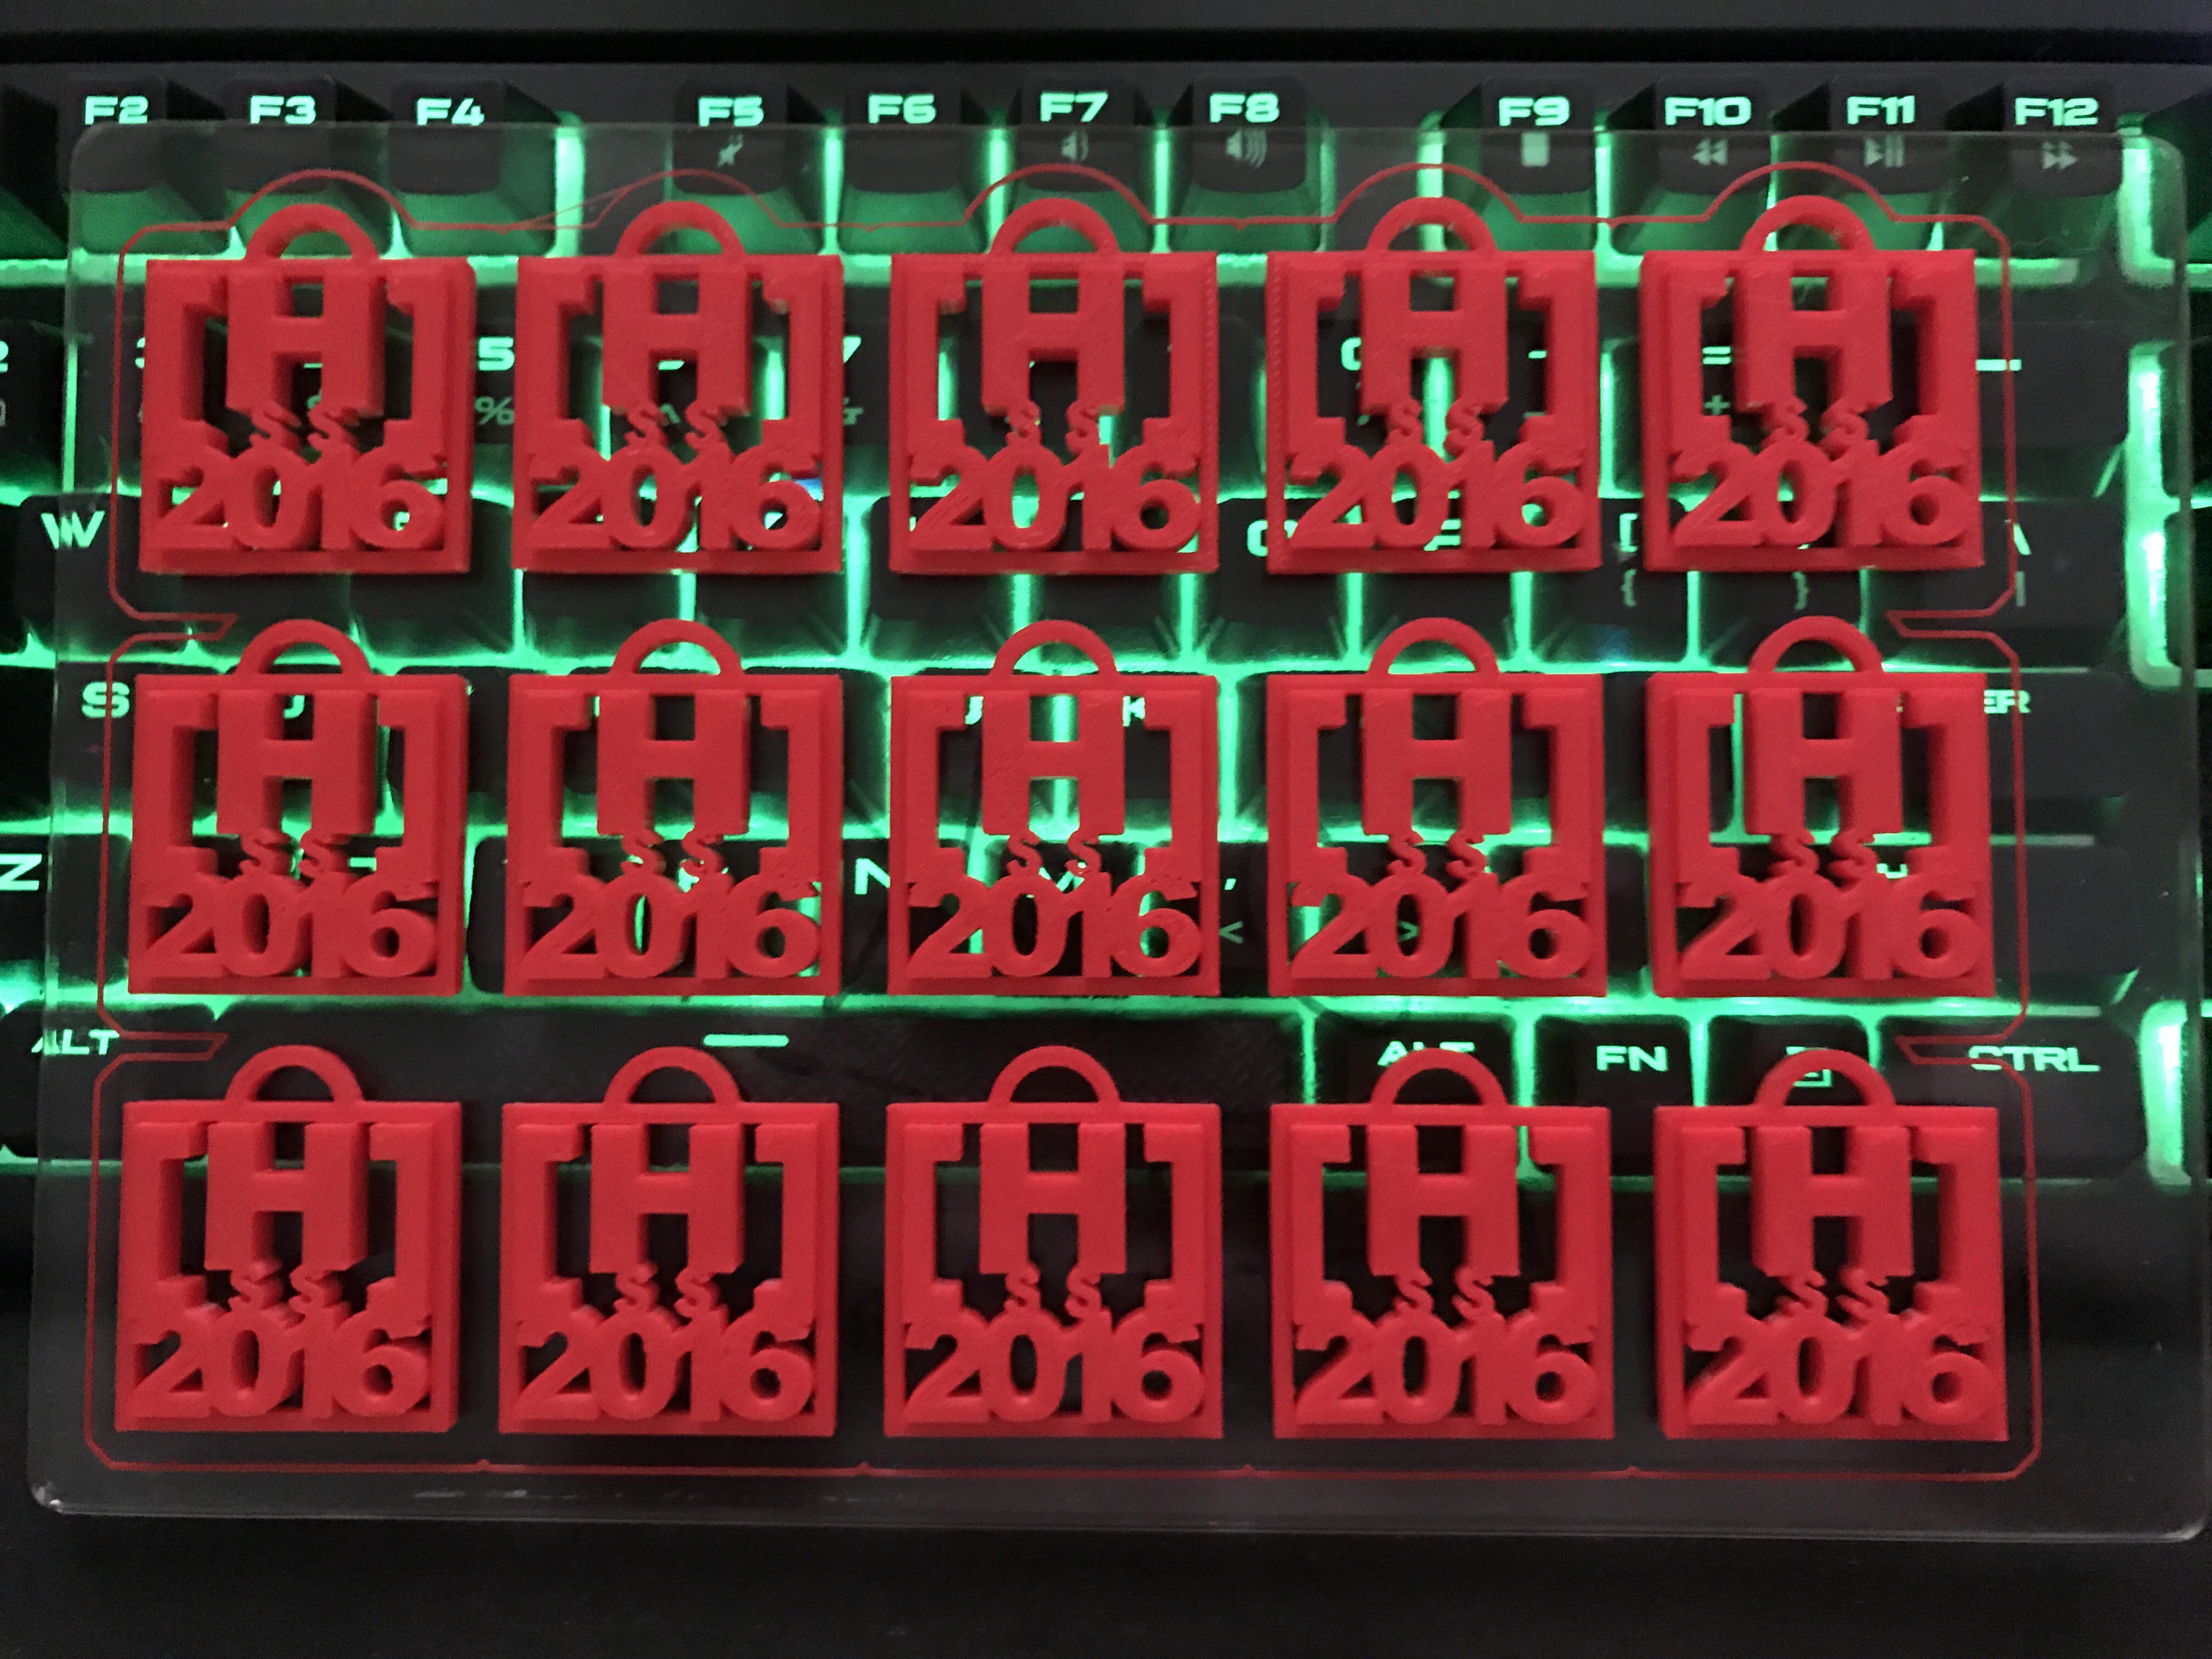

 Mattia Dal Ben
 Danny FR
 Mime Industries
 slantconcepts
 Jeremy
 Chris
Chris bobricius
 Varun Kumar
 matthewhallberg
 Edgaras Art
 haydn jones
 s7a73farm